

Raven - Teen Titans
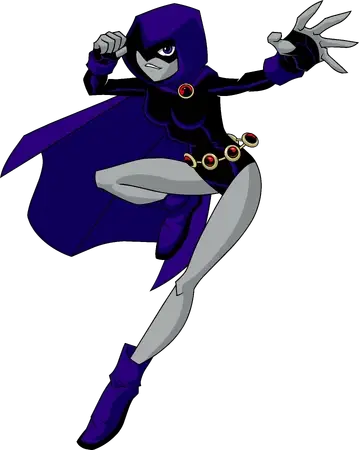
The Inspiration
Since I made Cammy's bodysuit I really got a desire for making a new cosplay with a bodysuit to have an excuse to make another one. I happened to stumble across an Instagram video of someone making Raven's belt and I was immediately sold!
I like Raven's simple but effective design: not too many parts but instantly recognizable. I knew that making the belt and the gems was going to be a crafty adventure but I was ready for it!
The Making Of The Costume
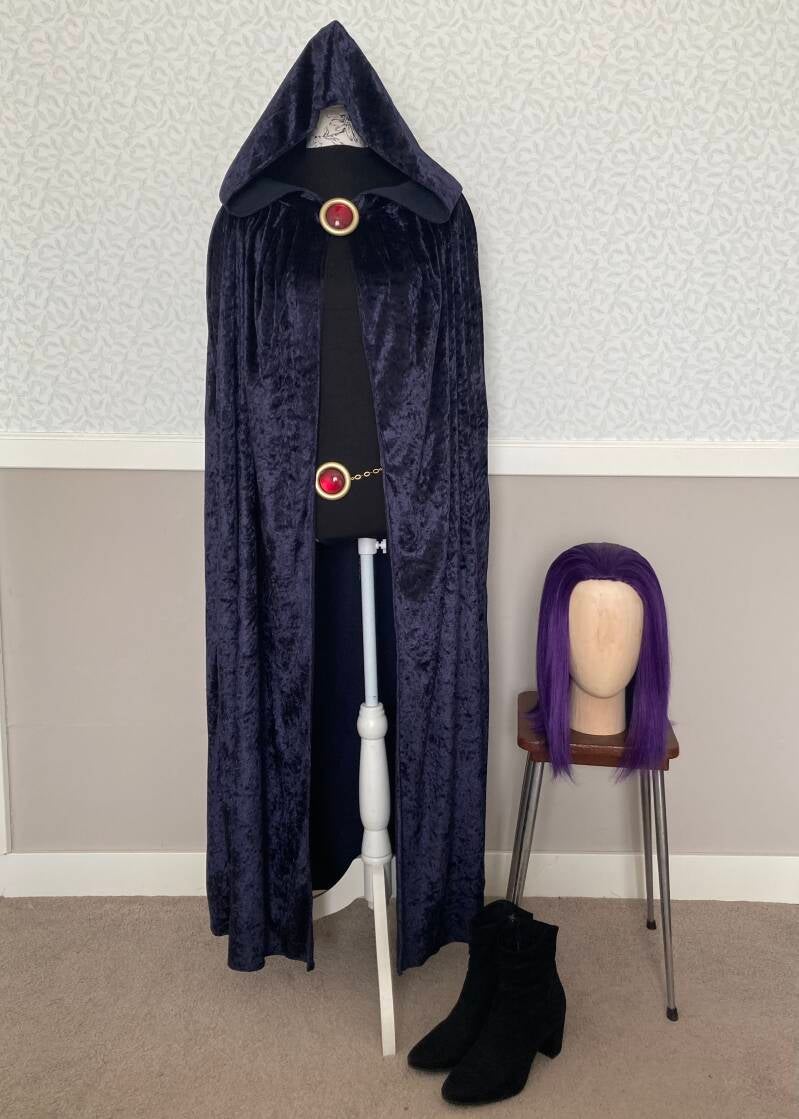
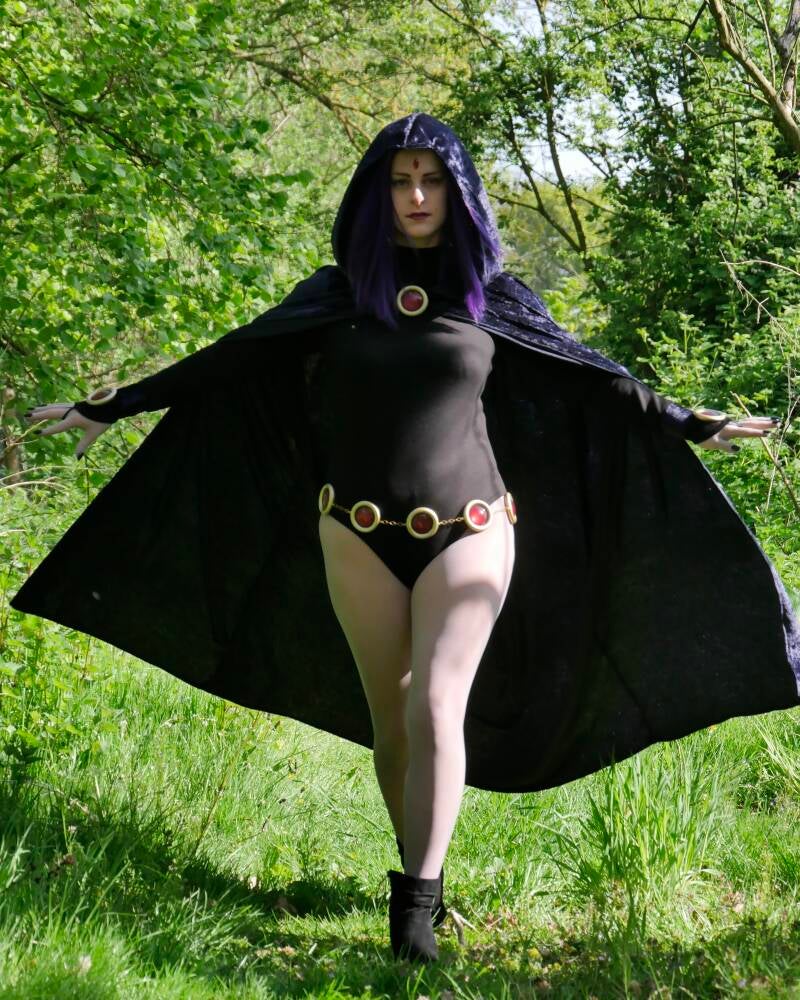
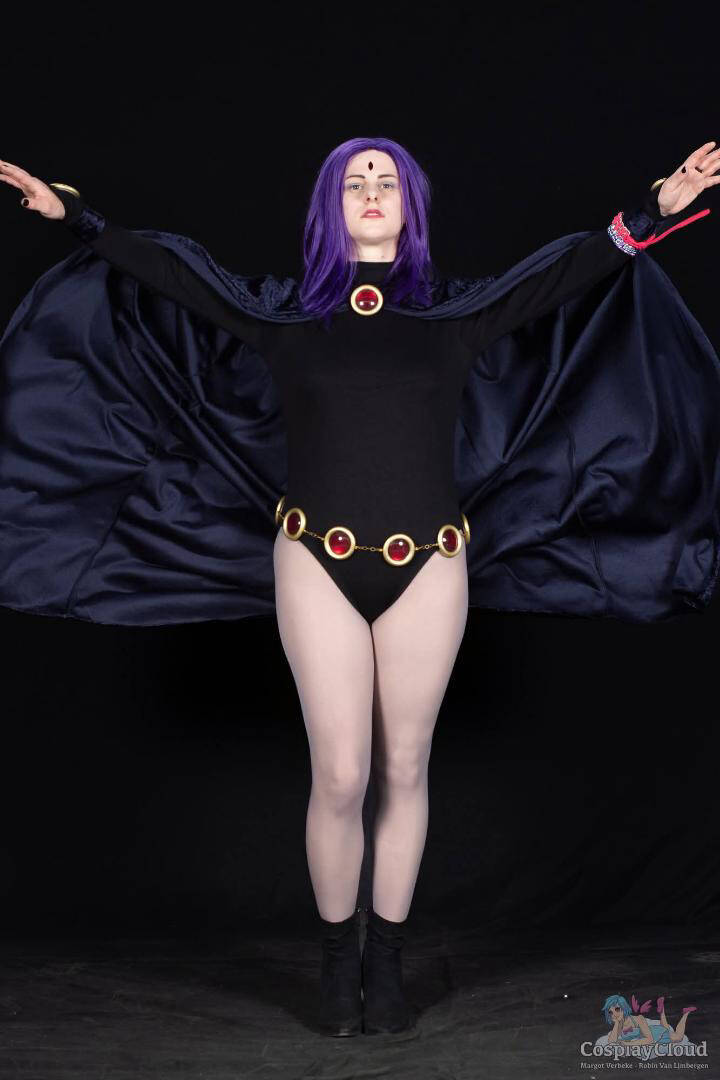
The first, and usually for me the most complicated, part of the cosplay was finding fabric for the bodysuit and cape that matched the look and was good to work with. I had decided for myself that I didn't want to make my Raven as a 'goth baddie' with latex bodysuit or fishnet tights, but stay true to her original design. That meant a different kind of fabric, preferably more stretchy than Cammy, and I prepared myself for quite the struggle to find it at an affordable price. so you can imagine that I couldn't BELIEVE my luck when I stumbled upon two coupons of the perfect fabrics in my local (favourite!) fabric shop on my first day of fabric hunting! A gorgeous crushed velvet in dark blue for the cape and soft, stretchy, black tricot for the body? I grabbed them without thinking twice!
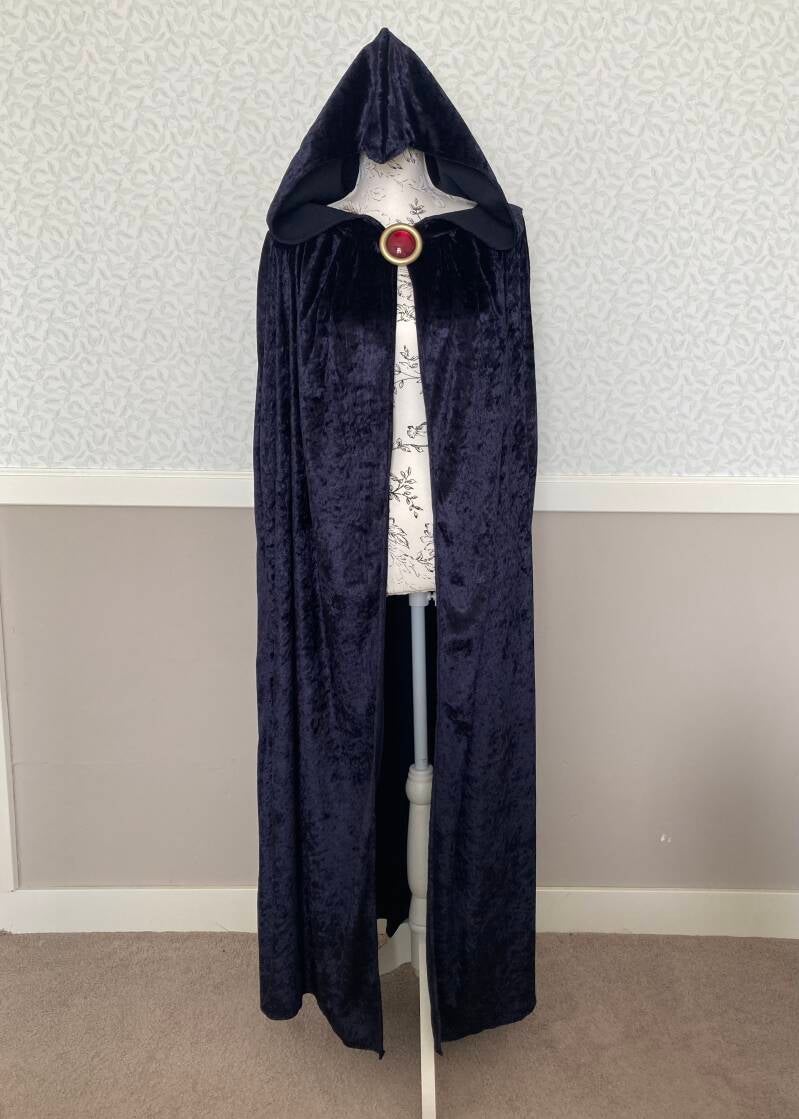
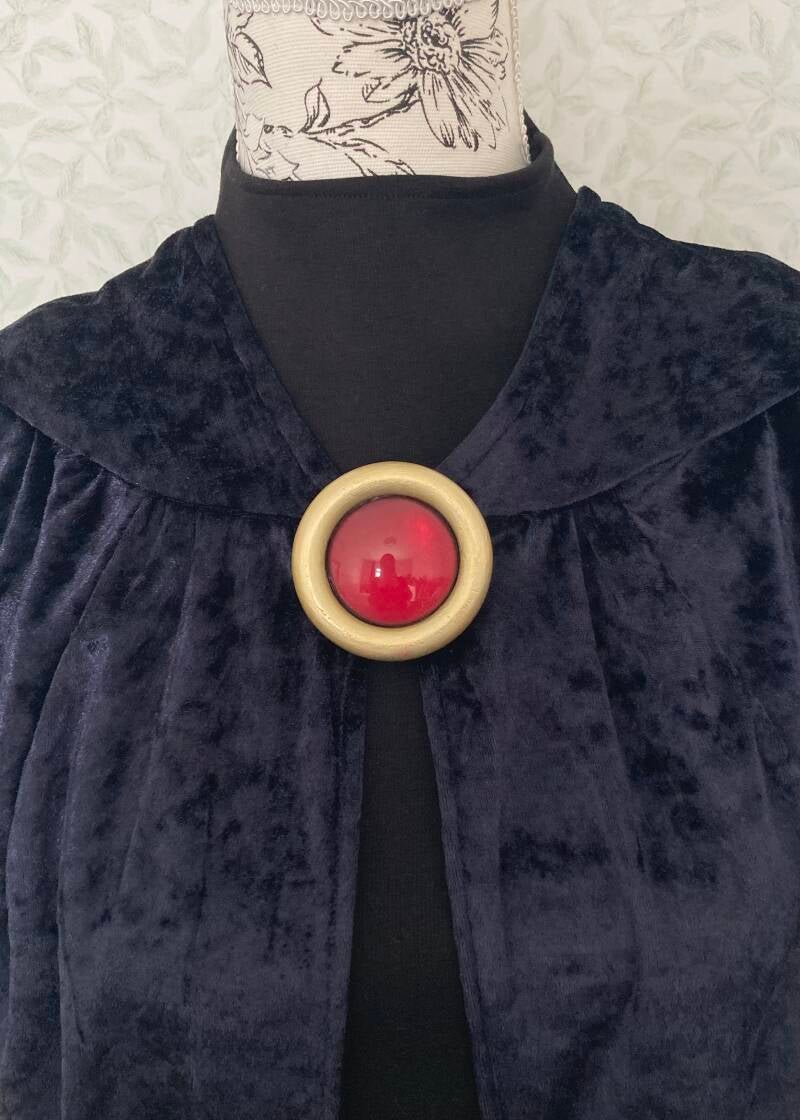
Now that I had my fabrics I was so eager to get started that I decided to make the body and cape first and work on the details later. For the cape I worked with a pattern that my mum used to make me a Hobbit cape when I was smol, which had seams over the shoulders to prevent the cape from sliding backwards and darts around the neck to avoid a fabric pile up but still get a gathered effect. It took me only one evening to finish the cape!
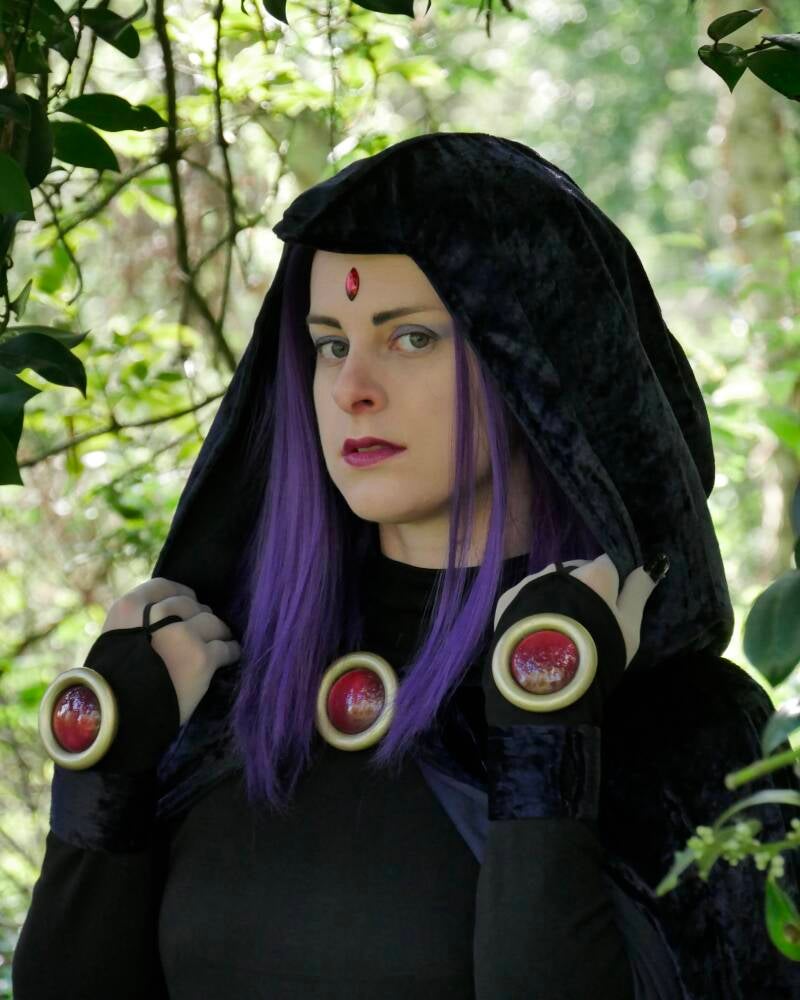
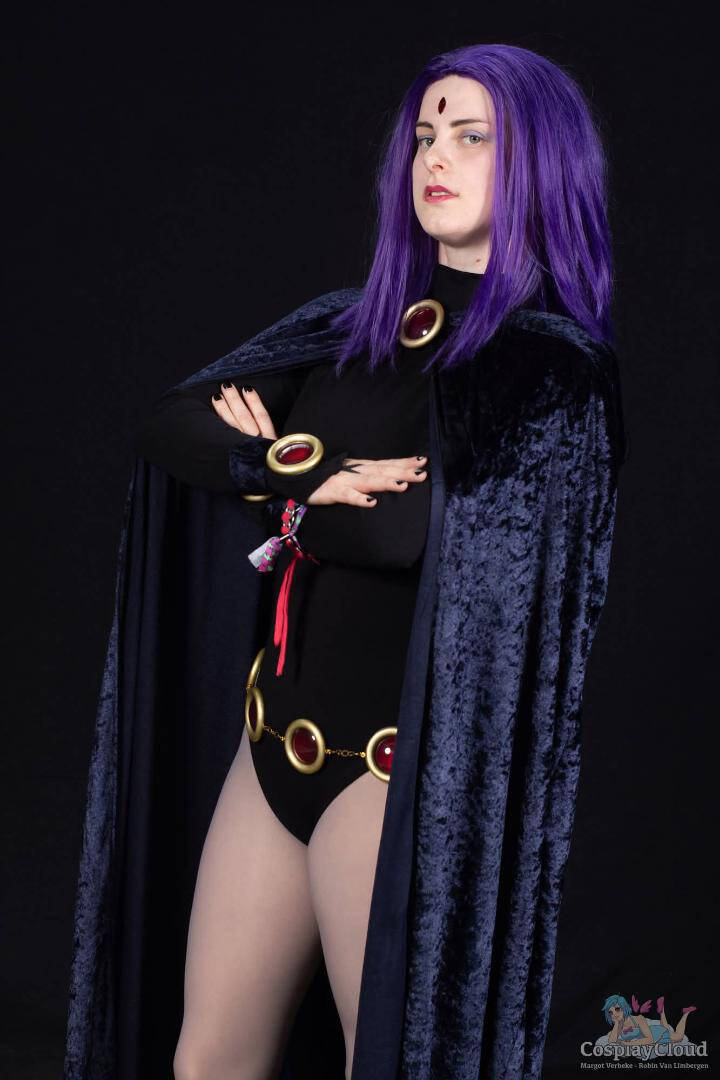
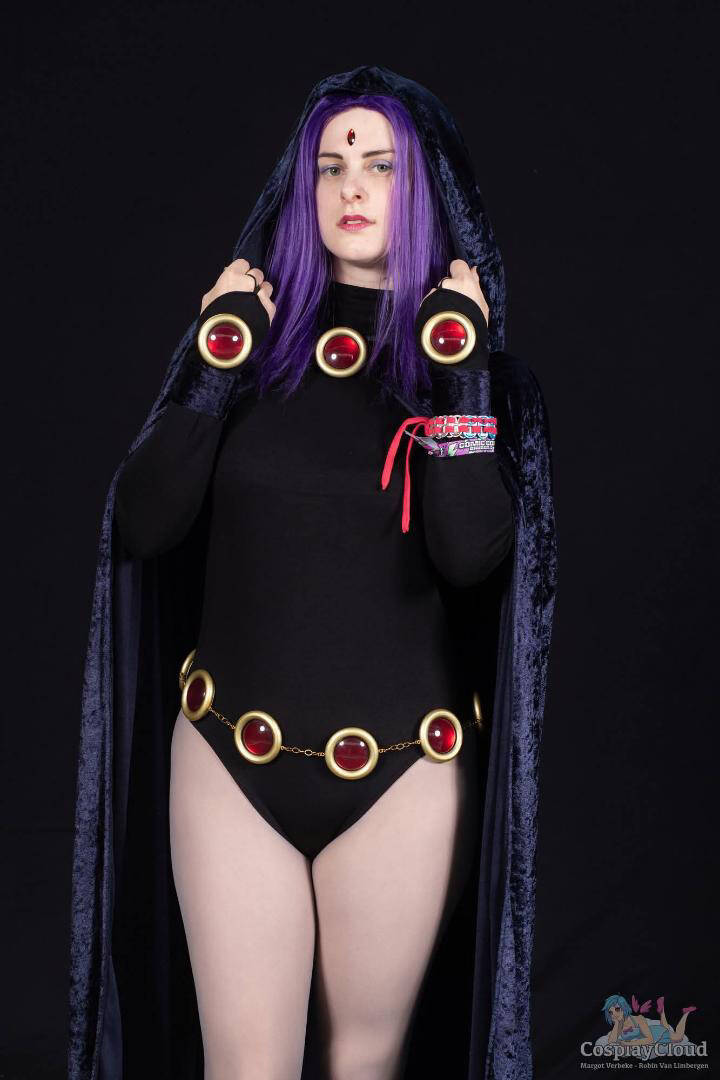
For the hood I had to do some more work, as I had to design the correct shape with the 'beak' point in the front. After a few drafts I had one that fitted well, and I decided to use a leftover from Ahsoka's blue dress for the lining. The contrast from the blue lining with the black bodysuit really makes the cape pop and I love it! Even though I could slide the cape over my head to put it on, I decided to attach two small hook fasteners so that I would always have the option to open it from the front too.
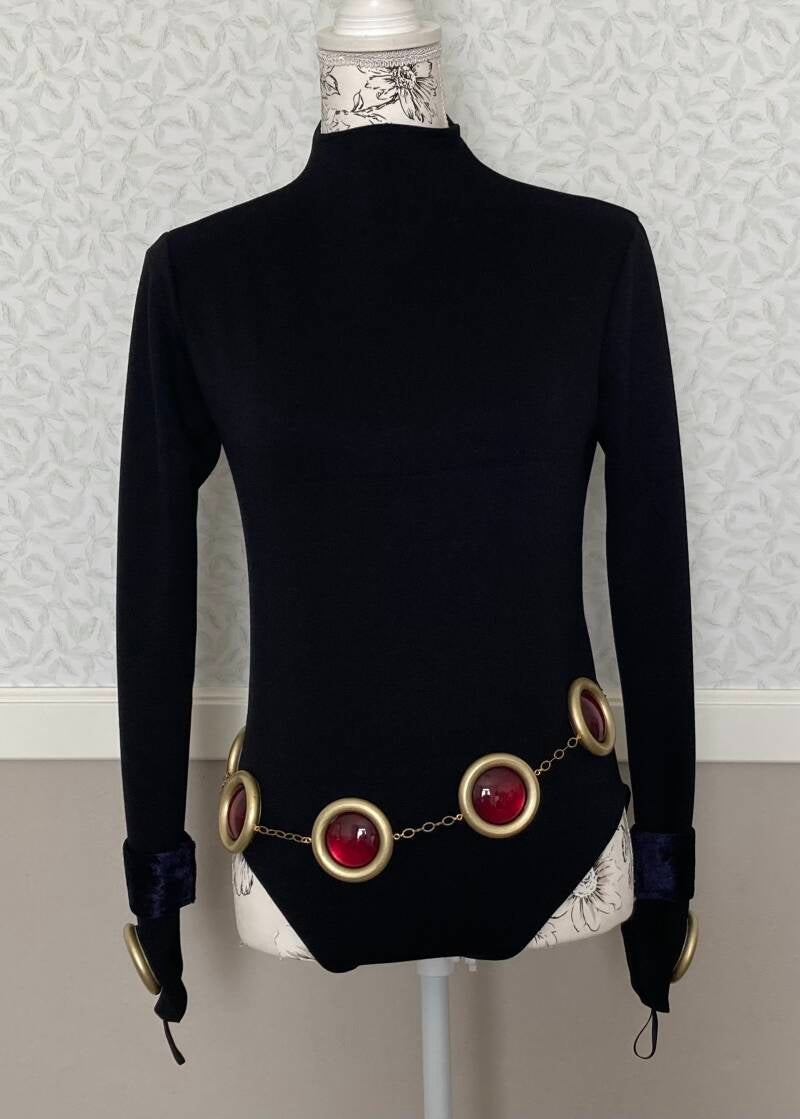
With my cape finished in all but 2 days, the bodysuit was next. I wanted to use Cammy's bodysuit as a draft but soon decided that the hips were really too high and that I found that shape not fitting for Raven. In one of my sewing magazines I found a pattern for a turtleneck top that I absolutely loved, but the big problem was still the lower part. I absolutely wanted to make a zipper in the back and not a bottom closure like I did with Cammy, so the search for patterns continued. Eventually I got so fed up with all the different patterns, tips for correct fitting and leotard DIY's that I grabbed one of my bikini bottoms, drew it out, took some measurements to attach it to the turtleneck top and went from there. What is cosplay if not improvisation?
Luckily my black coupon was big enough to allow the risk of having to make a second bodysuit in case this one didn't work out. Lucky me, my improvisation paid off and it was a perfect fit the first try. Zipper and sleeves were added, elastic was sewn into the legholes and my bodysuit was done!
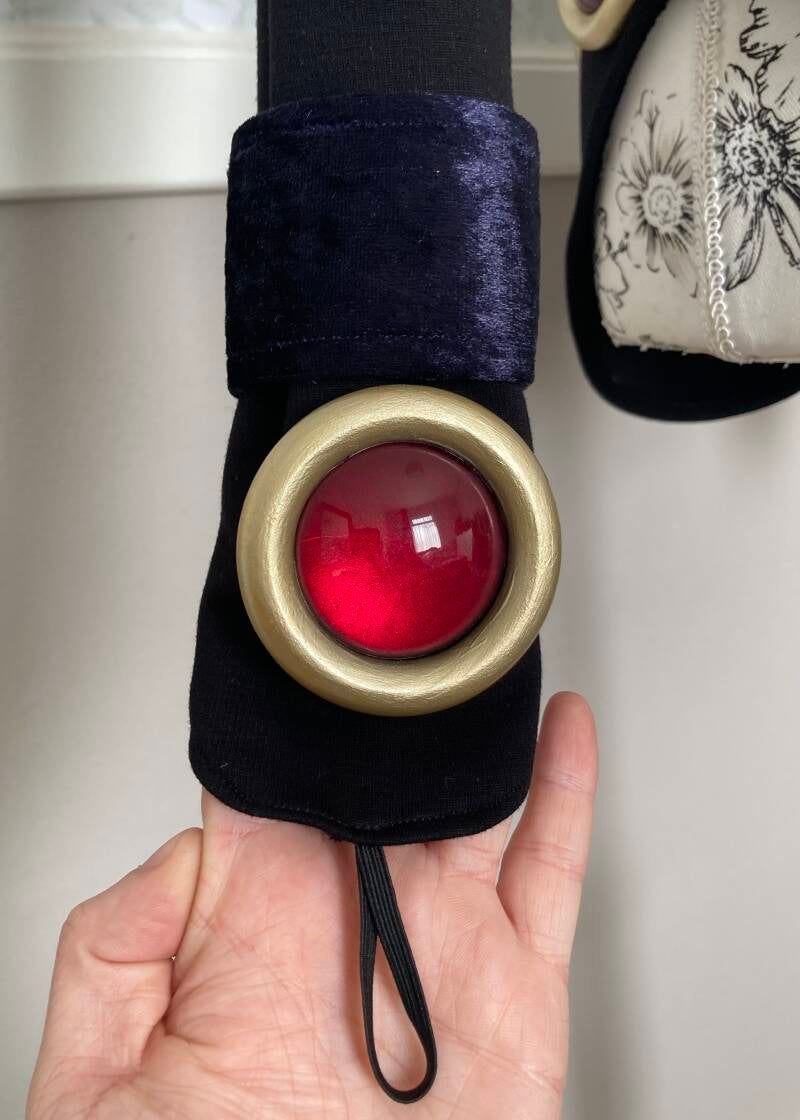
I made the blue cuffs from the same fabric as my cape and attached snaps to close them. (After the first photoshoot I redid my cuffs, added a string, wide elastic to keep them in shape and small hooks to close them because the snaps were impossible to open with fake nails).
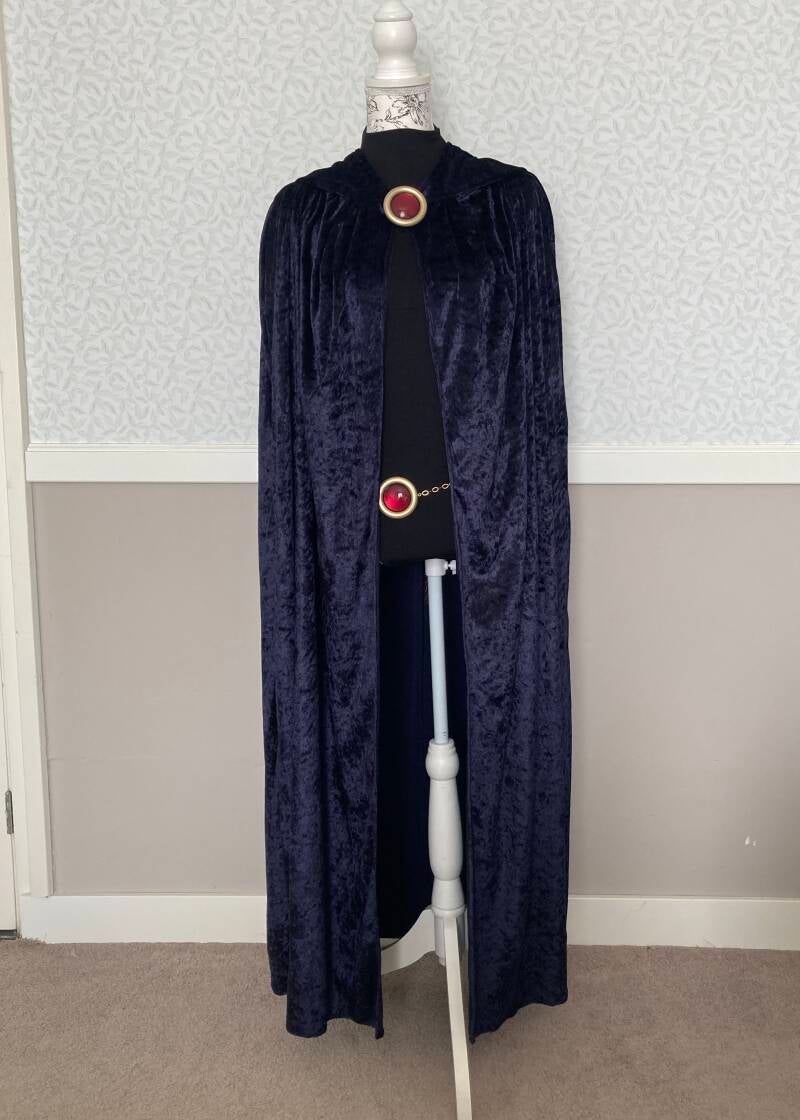
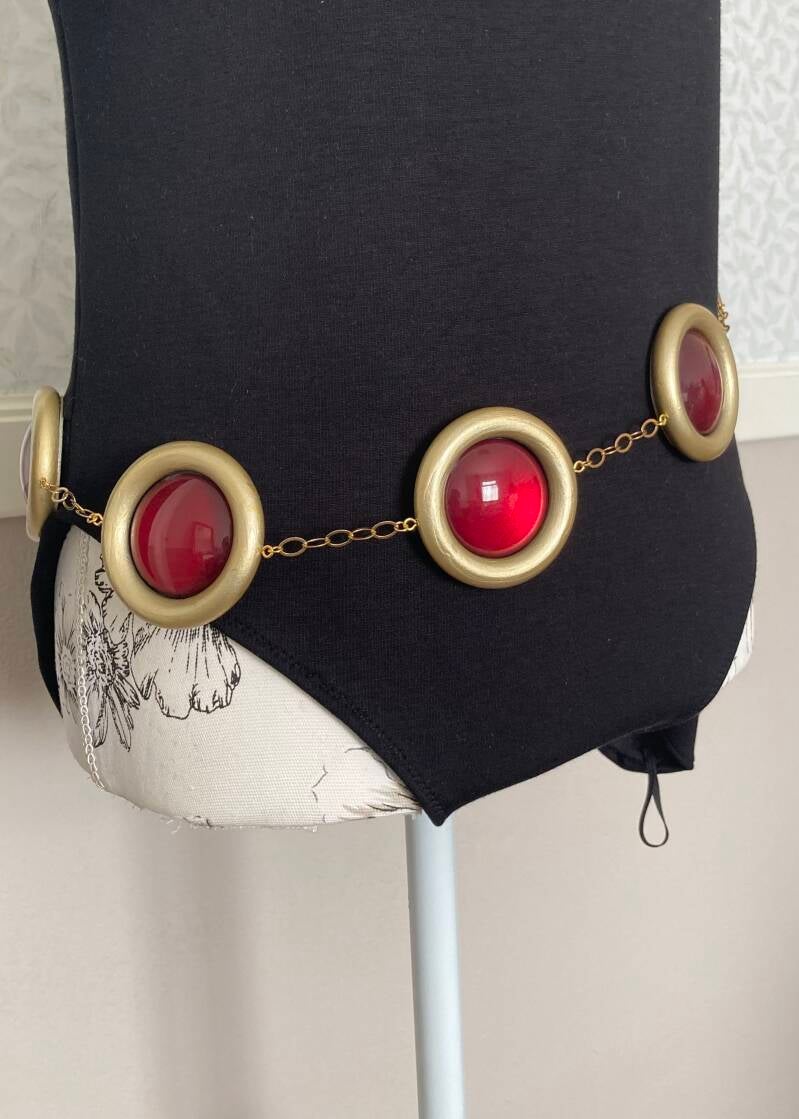
I had seen a great tutorial on making the gems out of glass cabochons and wood curtain rings, things that I didn't have available in stock but that the internet provided to me at a decent price. I went shopping for a metallic dark red nailpolish to colour the back of the glass cabochons, and honestly I was absolutely blown away by how well that small trick worked! The metallic red gave the glass gems a perfect shine and it was so pretty!
The wood rings took a little more work. They had a rougher finish than I had anticipated but sometimes it's just super hand to have a little brother who is a woodworker and has his workshop at home! He helped me sand them all smooth, sand the back down for better positioning and drill the holes for the hooks. After two layers of primer, sanding, two layers of black, two layers of sparkly gold, two layers of shiny gold, another layer of sparkly gold and two layers of glossy varnish my rings were done! A small foam circle glued to the back closed them off and made a nice little cage to glue my gems in. Adding the chain was a bit of a pickle because I had to make sure that it wasn't twisted and that the spacing was equal. A bit of math helped with that and then my belt was done!
Attaching the gems to the sleeves was a bit of a struggle. Since the glass and wood combo was quite heavy, my sleeves kept sliding away so I had to attach small elastic loops to secure them to my fingers and prevent sliding. After lots of pondering I took the decision to sew two small black foam rings onto the sleeves and glue the gems onto them. That way I could always undo the stitches and remove the gems if ever necessary. Two big snap buttons fixed the attachment issues for the gem on the cape; removable but super well fixed. Almost done!
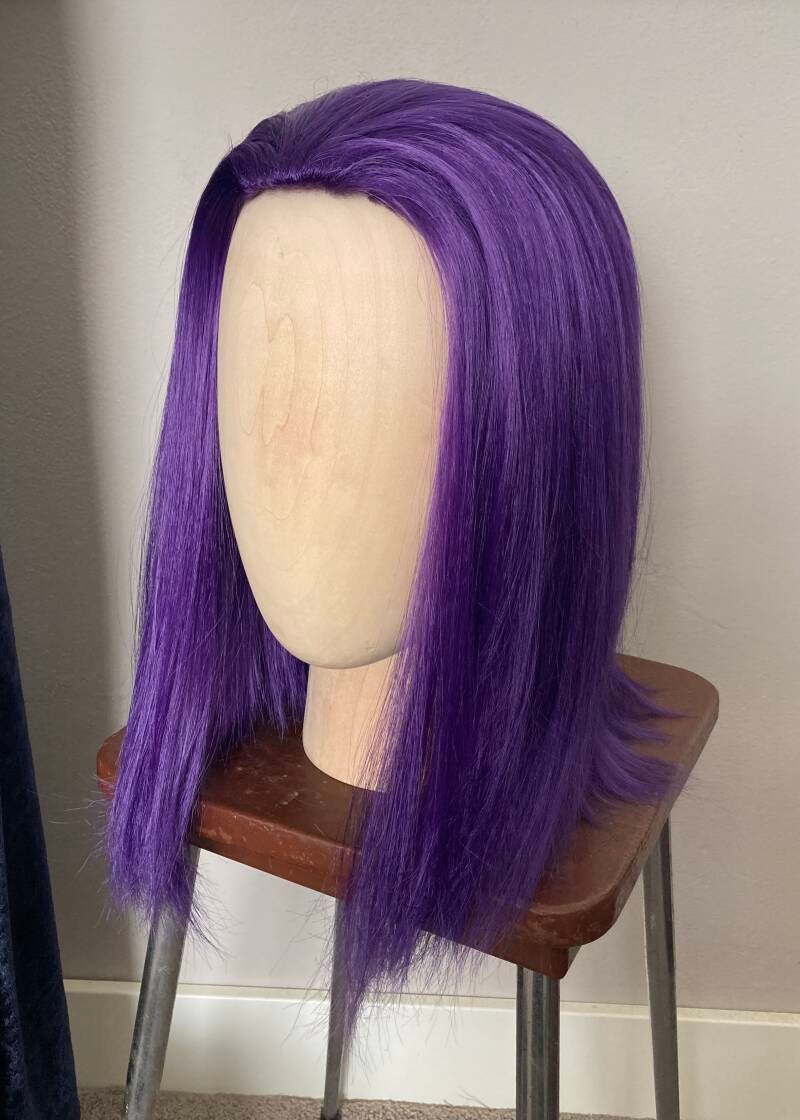
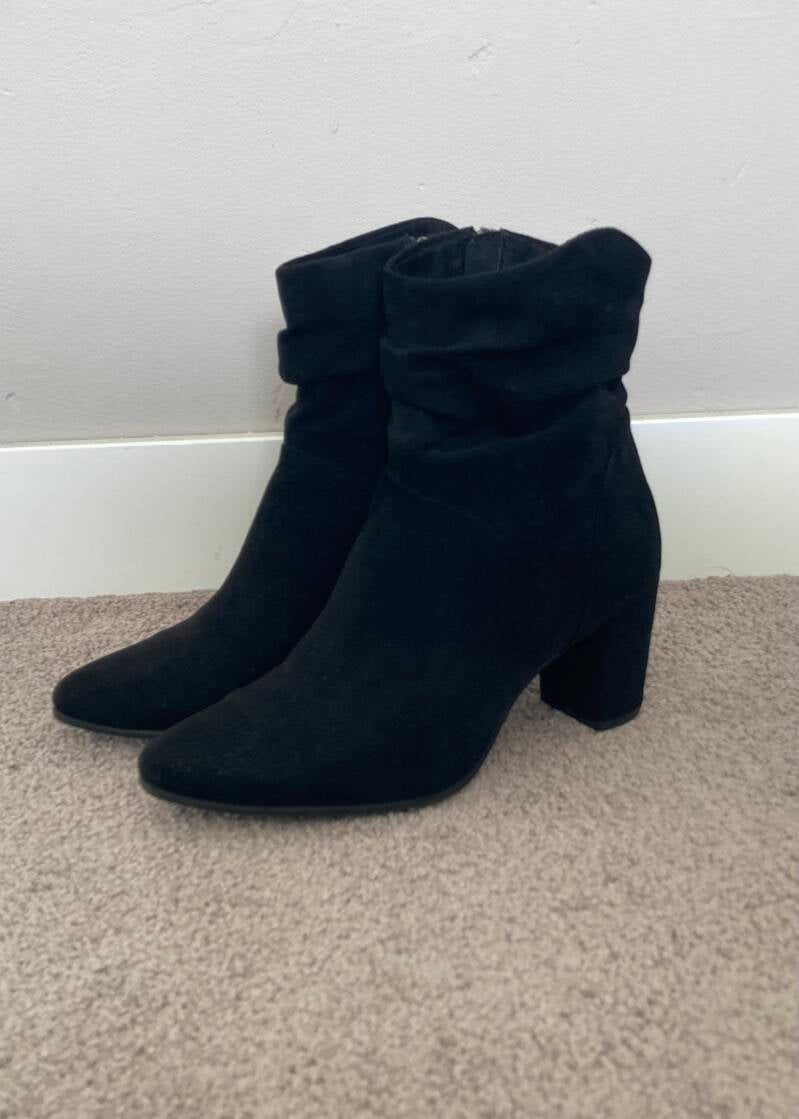
I ordered a wig, grey tights, grey lace gloves, red strass stones and secondhand boots to finish off my costume. After putting on the gloves I noticed that the way my nails disappeared was really ugly so I had to find a solution for that. Little did I know that drag queen Youtube has tons of videos on how to attach fake nails to lace gloves! I bought a set, painted them black and attached them with a glue gun (only burned my finger once). After trying them on it turned out to be super sturdy so I was super happy!
Thank god the wig came in looking good. I gave it a good wash and detangle and apart from that it didn't need any work. I like the shine it has so I decided to leave it like that and not go through the bother of crimping it. (After the first photoshoot I decided to go through the hassle of crimping anyways; in the pictures it was clearly visible that the shine was plastic and there was a weird curl around the neck. So I got to work with a comb, hairspray and straightener and after a full afternoon and evening working on it the wig was smoother, less shiny, a bit darker in the positive way and overall more real. Lots of work but a great upgrade!)
And then, in just under a month, Raven was done!
The Crafting Details
Time it took to finish this cosplay: 1 month (March 2026 - April 2026)
Skills I learned for this cosplay: painting glass cabochons, attaching fake nails to mesh gloves
Pricetag of this cosplay: €81,-
The Photoshoots
With special thanks to: //


The Cosplaycloud Photobooth
Maak jouw eigen website met JouwWeb